
How to Refurbish Alloy Wheels at Home Safely

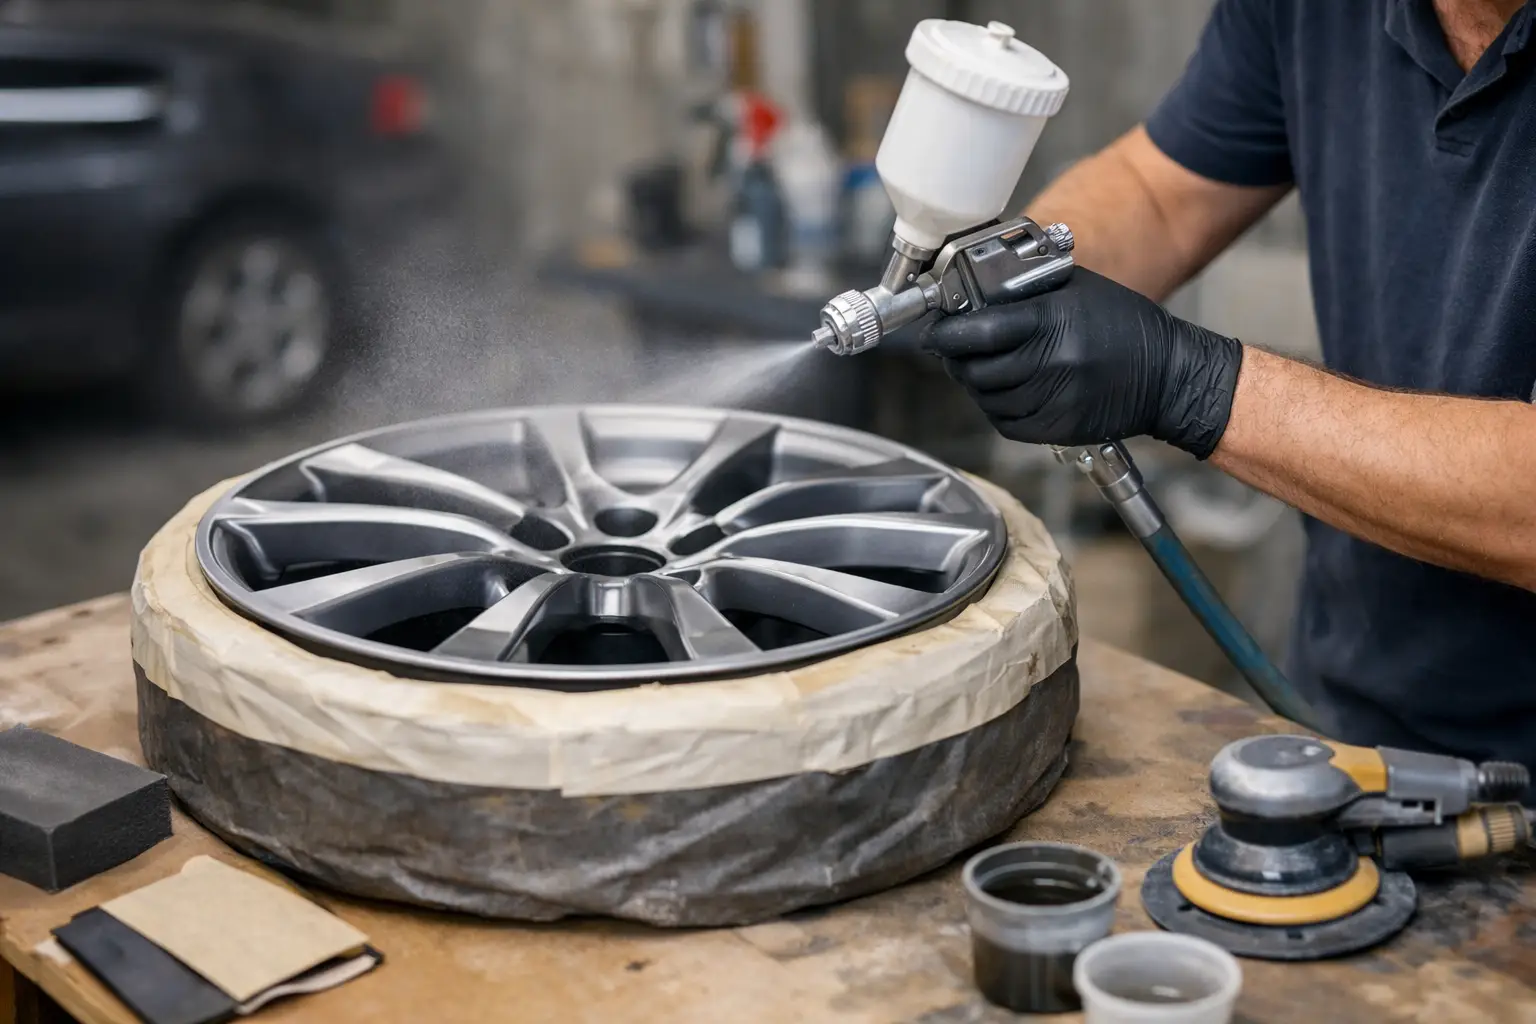
A light kerb mark can make an otherwise well-kept car look tired, but not every damaged wheel needs replacing. Knowing how to refurbish alloy wheels helps you decide whether a careful home repair will restore the finish or whether the wheel needs professional attention for safety, value and a result that lasts.
For painted alloy wheels with superficial scuffs, chips and faded lacquer, DIY refurbishment can be worthwhile. It is less suitable for bent rims, corrosion around the bead seat, cracks, severe gouges or diamond-cut faces. The key is not simply making the wheel look better – it is preparing it properly so the new coating adheres and the tyre can seal correctly afterwards.
Start by assessing the wheel damage
Wash the wheel thoroughly before judging it. Brake dust and road film can hide chips, corrosion and hairline cracks, particularly around spoke bases and the inner rim. Remove the wheel from the vehicle and inspect both faces under good light.
A cosmetic repair is normally realistic when damage is limited to kerbing on the outer lip, small paint chips, light surface corrosion or peeling lacquer. Run a finger around the damaged area once it is clean. If the metal is only lightly marked and the wheel remains round, it is generally a refinishing job.
Stop and seek specialist advice if you find a crack, a flat spot, a buckle, missing metal, or corrosion where the tyre bead sits. Paint will not repair a structural fault. A wheel that loses air, vibrates at speed or has been heavily kerbed may need welding, straightening or replacement. That is particularly relevant on larger, lower-profile wheel and tyre combinations, where impacts are more likely to damage the rim itself.
Diamond-cut wheels deserve separate consideration. Their bright machined face is created on a lathe, then protected with lacquer. Sanding and spraying can improve their appearance, but it will leave a painted finish rather than a true diamond-cut one. For an original-style result, these wheels need specialist machining and refinishing.
What you need to refurbish alloy wheels
The best finish comes from preparation rather than expensive paint. Use products designed for wheels, as ordinary household paints are unlikely to tolerate brake heat, salt and regular cleaning.
You will need:
- Wheel cleaner, degreaser, clean cloths and a tack cloth
- Wet-and-dry abrasive paper in several grades, such as 240, 400, 800 and 1,200 grit
- Alloy wheel filler for deeper scuffs, plus a plastic spreader
- Etch primer for exposed aluminium, high-build primer, wheel paint and clear lacquer
- Masking tape, masking paper, gloves, eye protection and a suitable respirator
A dry, dust-free and well-ventilated space makes a major difference. Avoid spraying outdoors on a windy day, in direct hot sun or when the temperature is low. Moisture and cold can dull the finish, while airborne dirt will settle into fresh lacquer.
For the most durable repair, have the tyre removed before starting. This gives access to the whole rim, avoids a visible paint edge near the tyre and lets you inspect the bead seat. It also prevents overspray reaching the sidewall or valve. Masking a fitted tyre is possible for a quick cosmetic repair, but it is a compromise and should not be used to hide corrosion near the bead.
How to refurbish alloy wheels step by step
Clean, strip and key the existing finish
Start with a proper wash, then use degreaser to remove tyre dressing, wax and oily residue. Any contamination left on the wheel can cause fish-eyes or poor adhesion in the paint.
Sand the damaged area with 240-grit paper to remove loose paint, corrosion and raised edges. Feather the surrounding finish rather than creating a hard step between old paint and bare aluminium. For a full wheel refurbishment, key the entire face with 400-grit paper so the primer has an even surface to grip.
Do not aggressively sand sharp edges of spokes or the outer rim. It is easy to change their shape, especially on softer cast alloys. The aim is to smooth damage, not remove more material than necessary.
Fill kerb damage carefully
Deep scuffs and small gouges need alloy wheel filler. Mix and apply it in thin layers, pressing it into the damaged section. Slightly overfill the repair because the material will be sanded back once cured.
When the filler has hardened, shape it with 240-grit paper, then refine it with 400-grit. Use your fingertips as well as your eyes. If you can feel a ridge, it will usually show through paint. Repeat with another thin application rather than trying to force a thick layer flat in one go.
Wipe away sanding dust and inspect the repair from different angles. This is the stage where patience pays off. Paint can disguise a small imperfection, but gloss lacquer often makes uneven filler far more obvious.
Prime the exposed alloy
Mask the valve, centre bore and any areas that should not be painted. If the tyre remains fitted, tuck masking material carefully behind the rim edge and fully cover the sidewall. Avoid painting wheel bolt seats, as these need clean metal contact for correct fitting.
Apply a light coat of etch primer to any bare aluminium. Once it has flashed off according to the product instructions, apply two or three thin coats of high-build primer. Hold the can at a consistent distance and keep the spray moving past the wheel rather than stopping over one point.
Allow the primer to dry, then lightly wet-sand it with 800-grit paper until smooth. Do not sand through to bare alloy unless needed. Clean the wheel again and use a tack cloth immediately before colour.
Apply wheel paint in thin coats
Choose a wheel-specific paint in the correct finish. Silver, anthracite, gloss black and satin black are common, but a close colour match can be harder than expected on older wheels. If only one wheel is being repaired, blending may be more noticeable than repainting the pair or full set.
Spray several light coats rather than one heavy coat. Heavy paint runs, dries unevenly and can trap solvent beneath the surface. Build coverage gradually, allowing the stated flash time between coats. Rotate the wheel or change position as needed to cover spoke edges and the inner lip evenly.
Once the colour has covered properly, leave it for the recommended period before applying clear lacquer. Rushing this stage is a common reason for soft paint, wrinkling or a finish that marks easily during tyre fitting.
Lacquer, cure and refit properly
Clear lacquer adds gloss and provides much of the protection against salt, brake dust and weather. Apply two or three even coats, again avoiding heavy passes. A wet-looking coat is desirable, but a run is difficult to correct without allowing the finish to harden and sanding it back.
Let the wheel cure fully before fitting a tyre or mounting it on the car. Dry to the touch is not the same as hardened. Depending on the coating system and temperature, full curing can take several days. Premature tyre fitting can mark the fresh edge, while harsh cleaners can cloud uncured lacquer.
When the tyre is refitted, ask for the wheel to be balanced. Confirm that the valve is in good condition and that the fitter checks the bead seal. Tighten wheel bolts or nuts to the vehicle manufacturer’s specified torque, using a calibrated torque wrench rather than relying on an impact gun alone.
When professional refurbishment is the better option
DIY work is cost-effective for a tidy-up on a practical daily driver, especially where the goal is to improve a set of painted wheels before sale or replace light kerb damage. Professional refurbishment is usually the better choice for premium wheels, difficult colour matches, diamond-cut designs and any wheel with structural concerns.
A workshop can remove tyres, repair suitable kerb damage, prepare the rim correctly and refit and balance the wheel in one process. At The Tyre Barn in Wimborne, this is especially useful when you need refurbishment alongside tyre replacement, fitment advice or an inspection of a used wheel.
Keep the refurbished finish looking good
After the lacquer has fully cured, clean the wheels regularly with a pH-neutral wheel cleaner and a soft brush. Avoid acidic cleaners on damaged or ageing lacquer, and do not use a stiff brush on diamond-cut faces. Washing brake dust away before it bakes on will do more for the finish than frequent aggressive cleaning.
Take care around kerbs, but also keep an eye on tyre pressures. Underinflated tyres offer less protection to the rim over potholes, while repeated impacts can turn a cosmetic issue into a bent or cracked wheel. A properly refurbished alloy should look smart, seal well and run true – if it does not, treat that as a fitting or safety issue rather than a paint problem.